You solely want 7 components to make these yeasted honey butter rolls. Fluffy, flaky, gentle, and buttery, with a dose of honeyed sweetness, these recent rolls are in one other league than something store-bought. In case you’re a bread newbie, reference my Baking with Yeast Information for solutions to widespread yeast FAQs.
This recipe is delivered to you in partnership with Crimson Star Yeast.
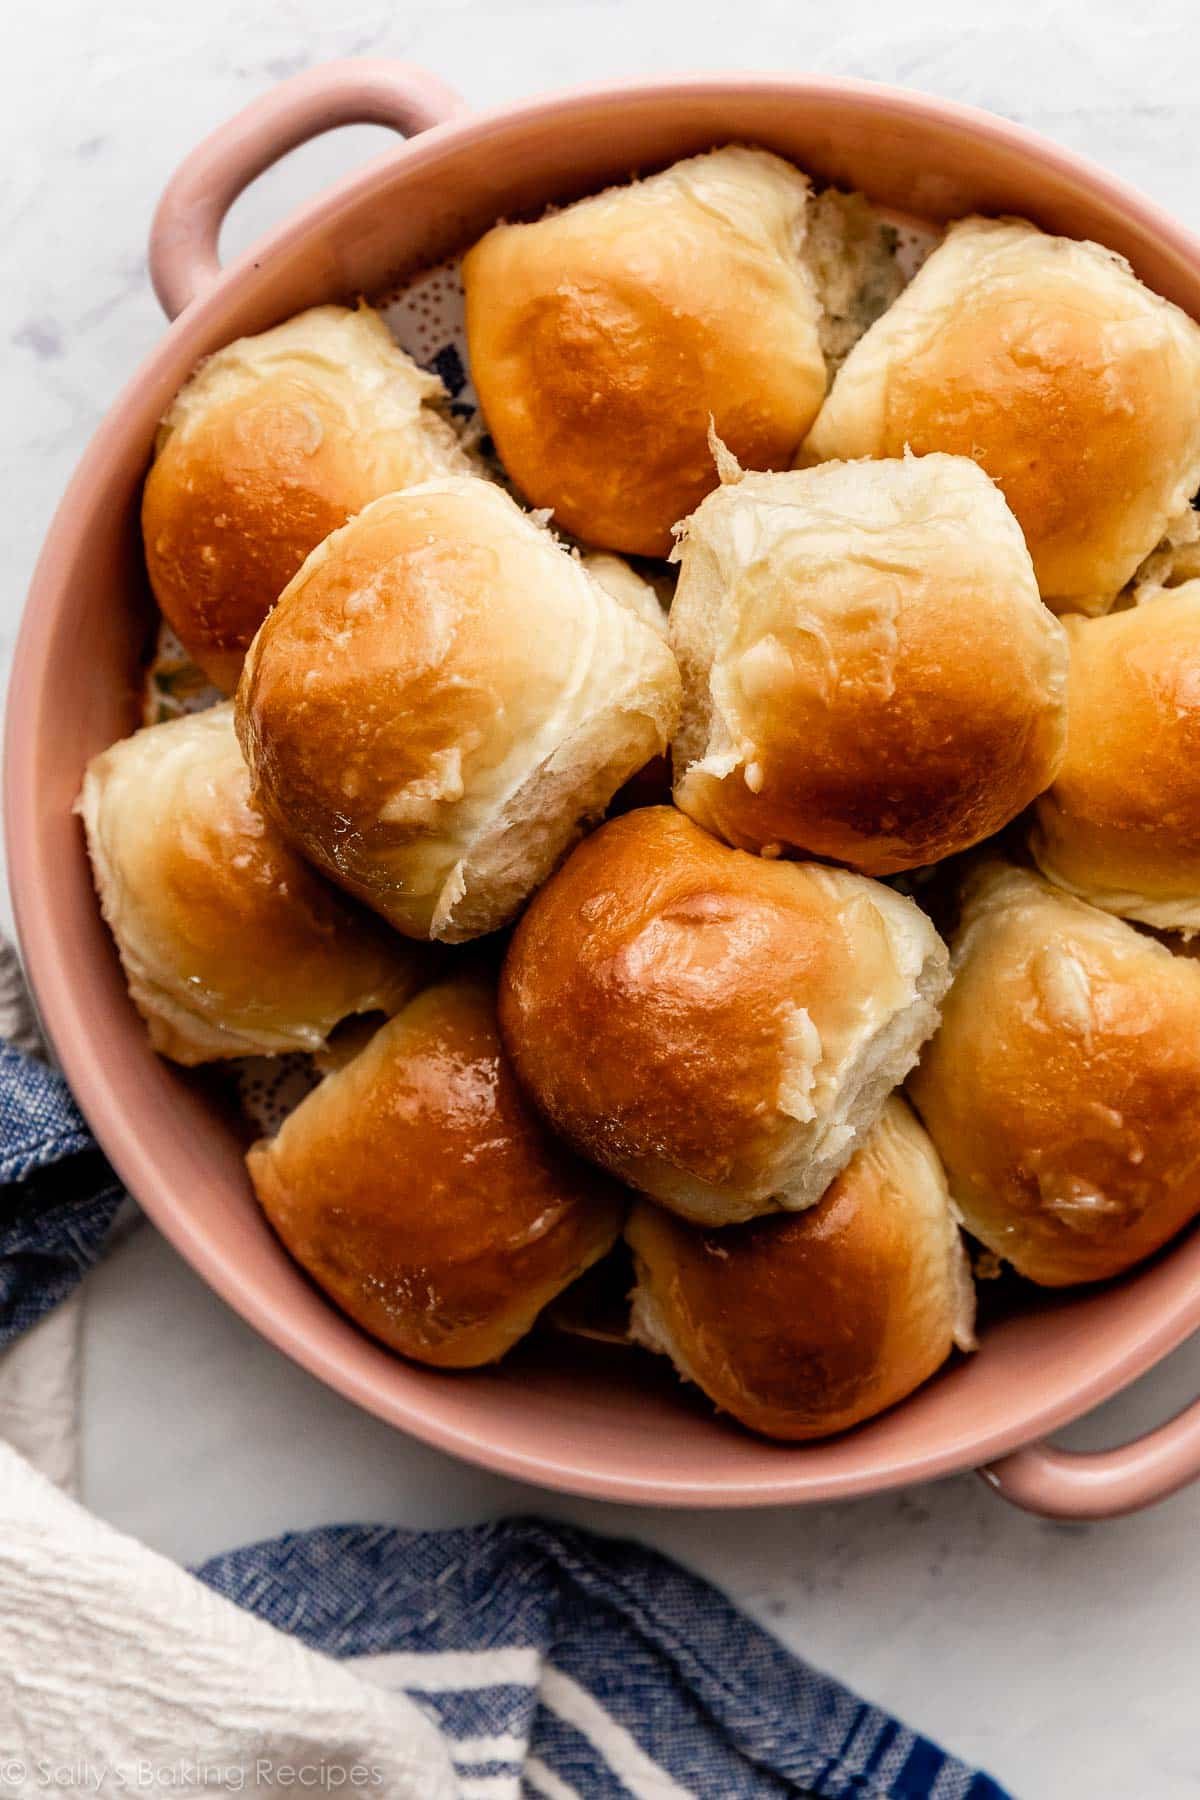
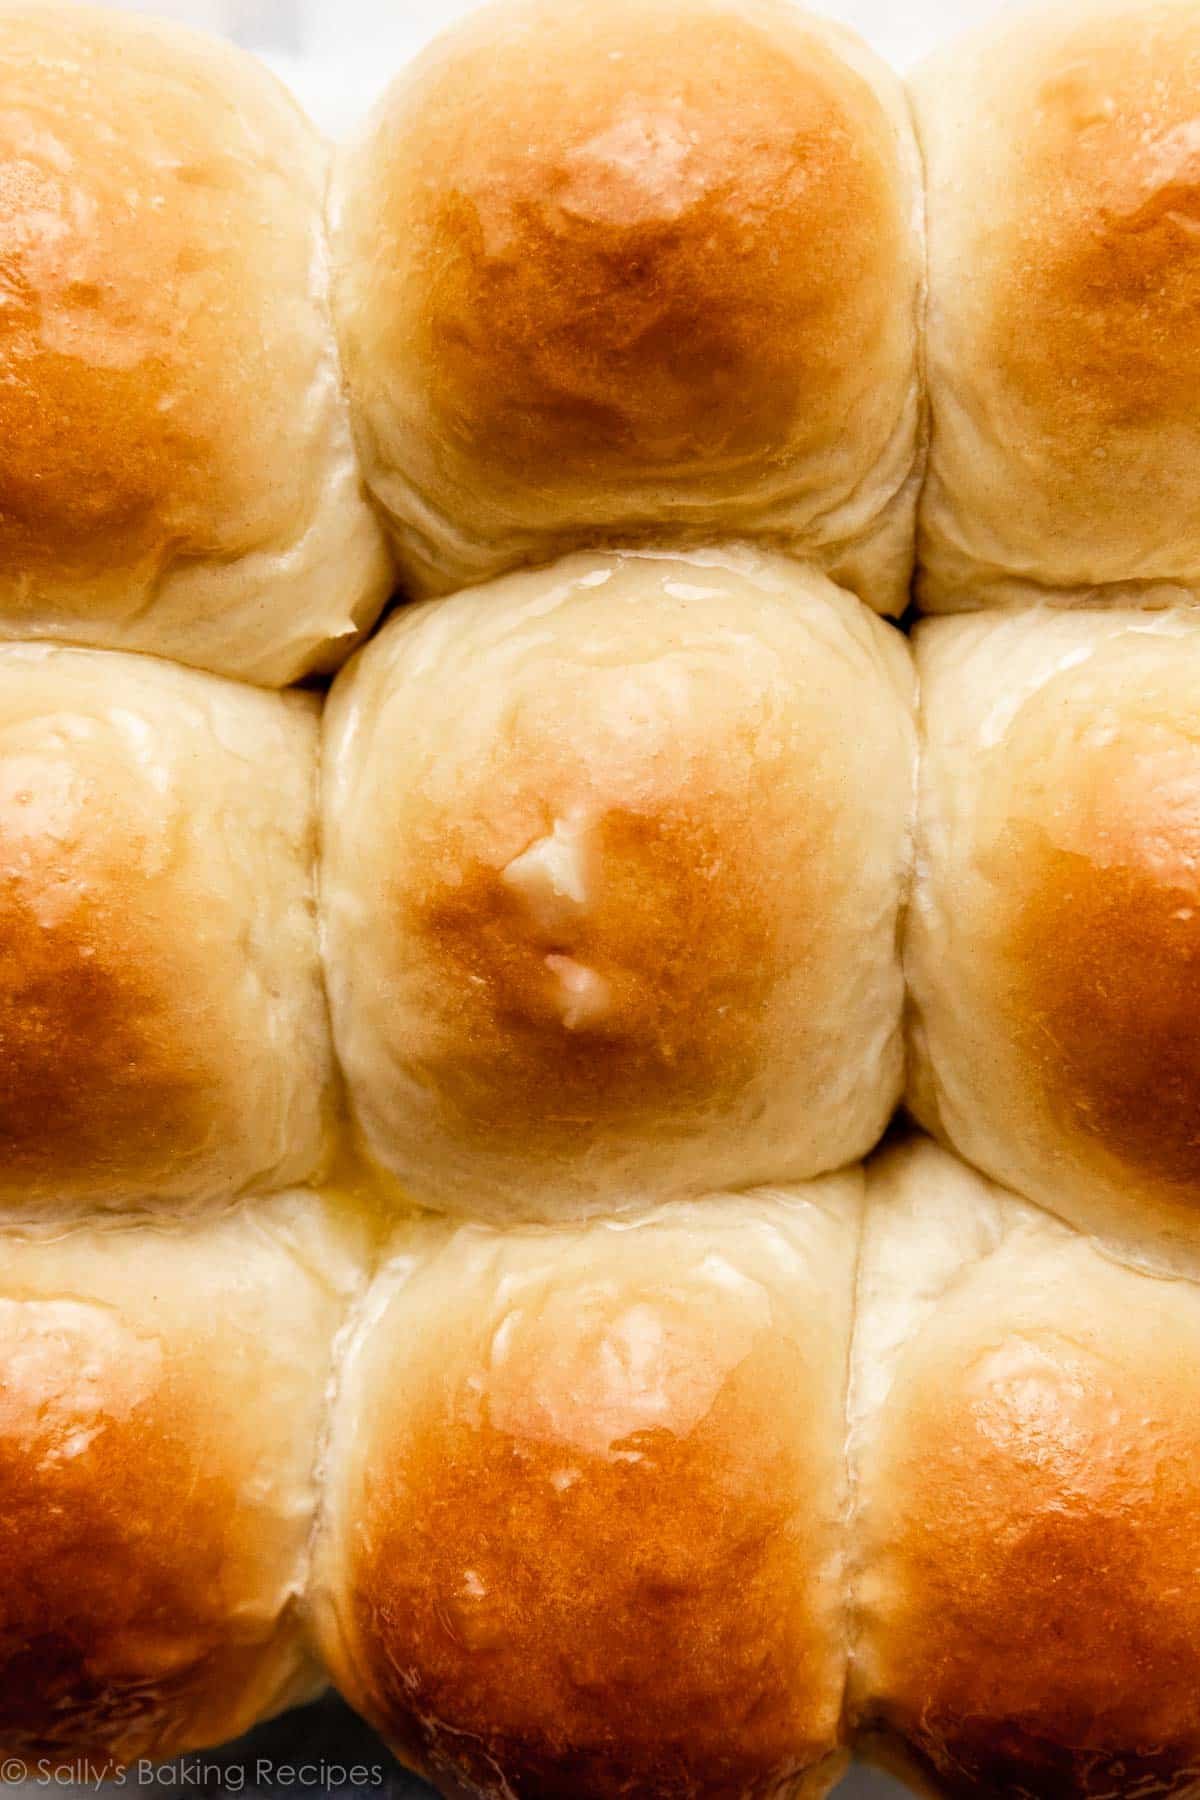
These gentle, flaky, golden honey butter rolls may simply be my very favourite rolls to make. I imply, I like my traditional dinner rolls, however with the addition of honey, each within the rolls and on high? These rolls are the bee’s knees!
One reader, Mia, commented: “What an incredible recipe! I haven’t even made bread a lot earlier than. But this turned out so efficiently. Will certainly be making it on the common…★★★★★“
I first printed this recipe in 2015, and have not too long ago made a pair small adjustments to it. The recipe used to incorporate granulated sugar, for proofing the yeast, however you may really simply use a teaspoon of honey for this! (Handy, because you’re already utilizing honey within the dough.) I’ve additionally prolonged the kneading time to eight–10 minutes, in order that they’re further gentle. In case you’ve made these garlicky do-it-yourself breadsticks earlier than, the kneading directions are precisely the identical.
That is an old school, made-with-love dinner roll recipe, with honey butter getting in and on the rolls.
Components You Want for This Wealthy Dough
Sadly, this dough doesn’t include a profitable lottery ticket (although we may name the honey liquid gold!). Moderately, “wealthy” correlates with the quantity of fats within the dough. Right here’s the distinction:
- Wealthy dough: The softer the bread, the extra fats within the dough. For instance, this dough contains entire milk, butter, and egg. Recipes like my straightforward cinnamon rolls, pizza pull-apart rolls, and brown butter sage dinner rolls all begin with a wealthy dough.
- Lean dough: The crustier and chewier the bread, the much less fats within the dough. Recipes like chewy do-it-yourself bagels and gentle pretzels, pizza dough, focaccia, and artisan bread all use a lean dough.
You want 7 components complete:
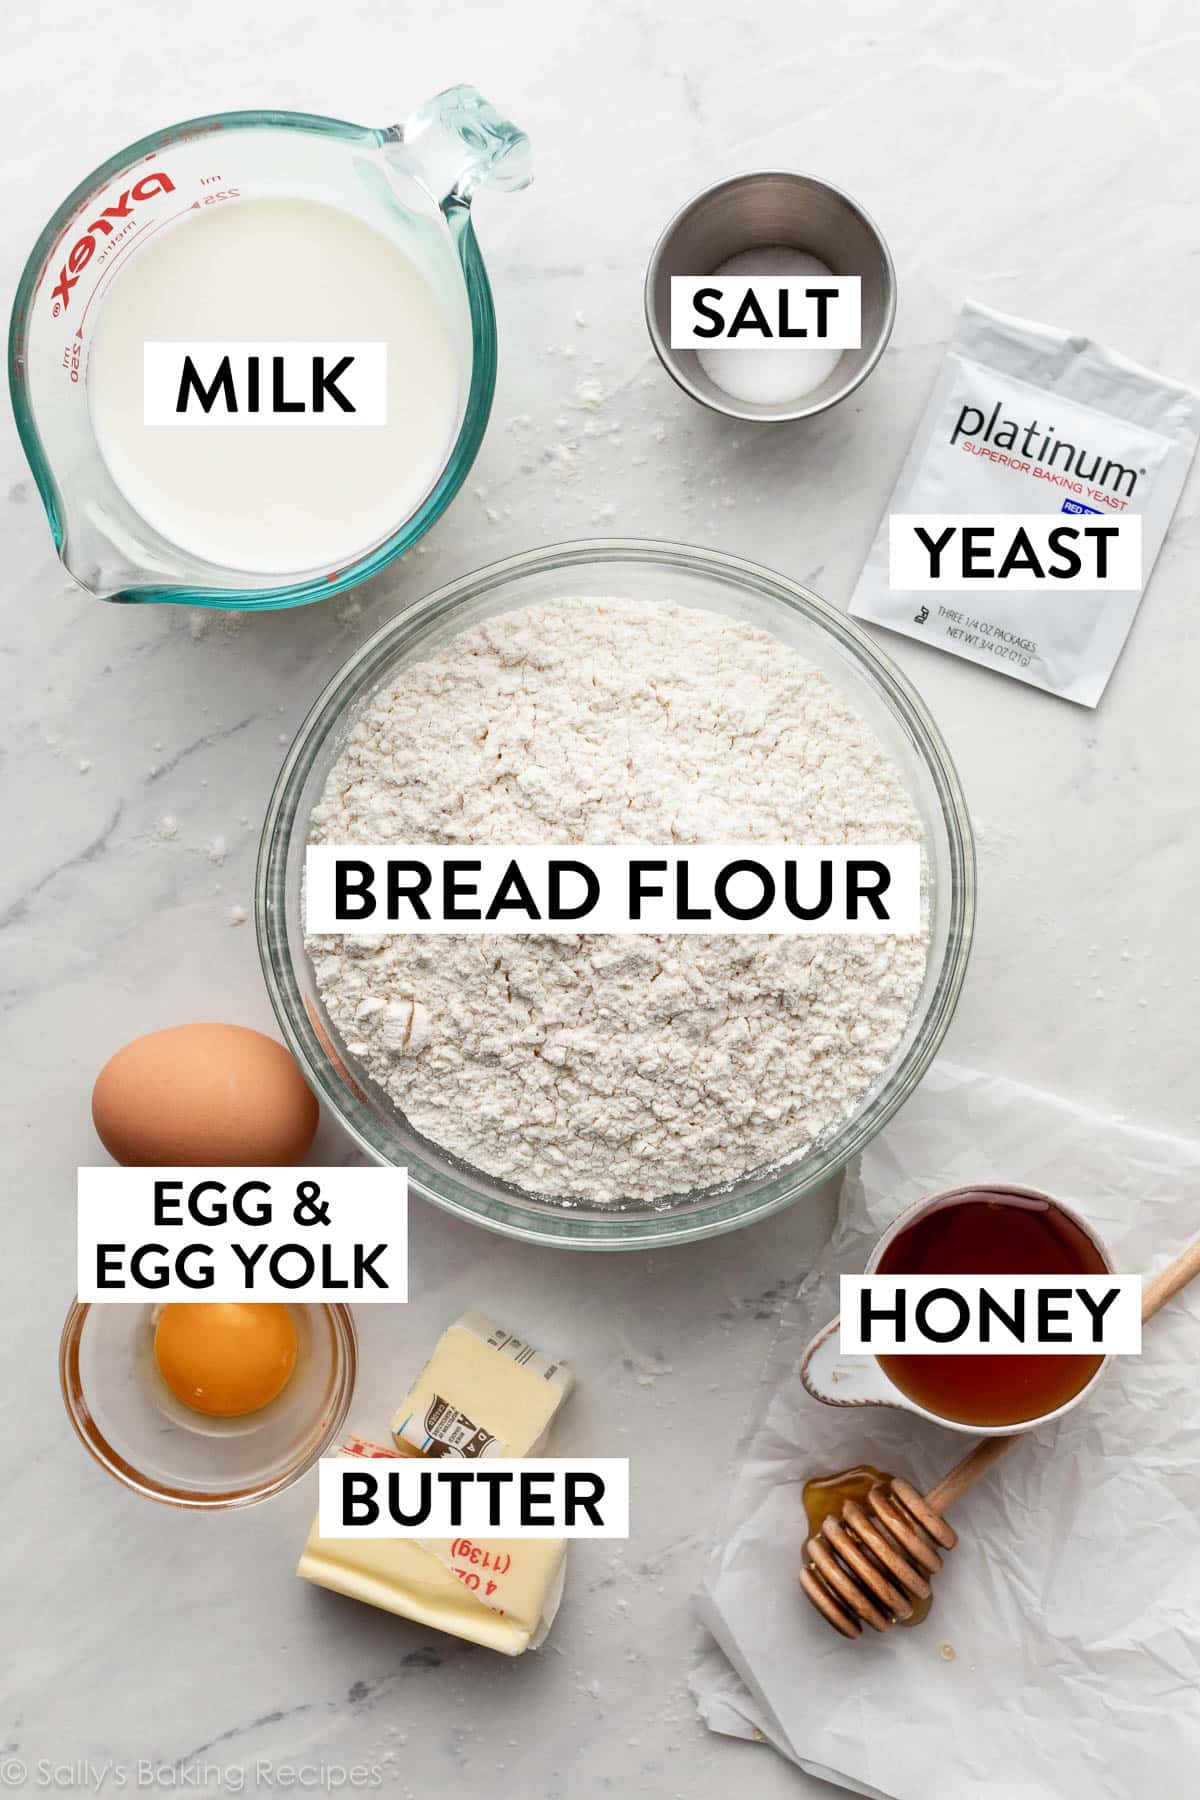
- Milk: Liquid prompts the yeast. For the very best rolls, use entire milk. Nondairy or low-fat milks work too, however entire milk produces phenomenal taste and texture.
- Yeast: You need to use energetic dry yeast or on the spot yeast. If utilizing energetic dry yeast, the rise instances will likely be a bit of longer. I like to recommend Platinum Yeast from Crimson Star, which is an on the spot yeast blended with pure dough improvers.
- Honey: The honey feeds the yeast, will increase its exercise, and tenderizes the dough. Plus it offers that particular sweetness these rolls are made for!
- Egg: 1 egg offers construction and taste, and that further egg yolk provides richness and makes the rolls supremely gentle. Don’t skip it.
- Butter: Butter within the dough guarantees a flavorful, gentle honey butter roll. And is there something higher than slathering honey butter on high of the nice and cozy rolls?
- Salt: You possibly can’t make flavorful bread with out salt!
- Flour: You need to use all-purpose flour or bread flour on this recipe. All-purpose flour is handy for many, however bread flour produces chewier rolls. There are not any different adjustments to the recipe when you use bread flour. I exploit bread flour in my honey butter rolls as a result of it accommodates extra gluten than all-purpose. Additional gluten helps make completed rolls further chewy and, um, extra bread-like. Technical phrases right here.
Making rolls from scratch might sound intimidating and time-consuming, however most of that point is hands-off. In case you’re new to baking bread, reference my Baking with Yeast Information.
One reader, Erin, commented: “That is my go-to recipe for dinner rolls. They’re scrumptious! I make them on a regular basis for household gatherings and they’re at all times a success. Earlier than I got here throughout Sally’s weblog, I by no means had the boldness to attempt to make bread of any type. Due to her detailed directions and pictures, I’m now totally assured in my capacity to make not solely rolls, however tons of different recipes as nicely. ★★★★★“
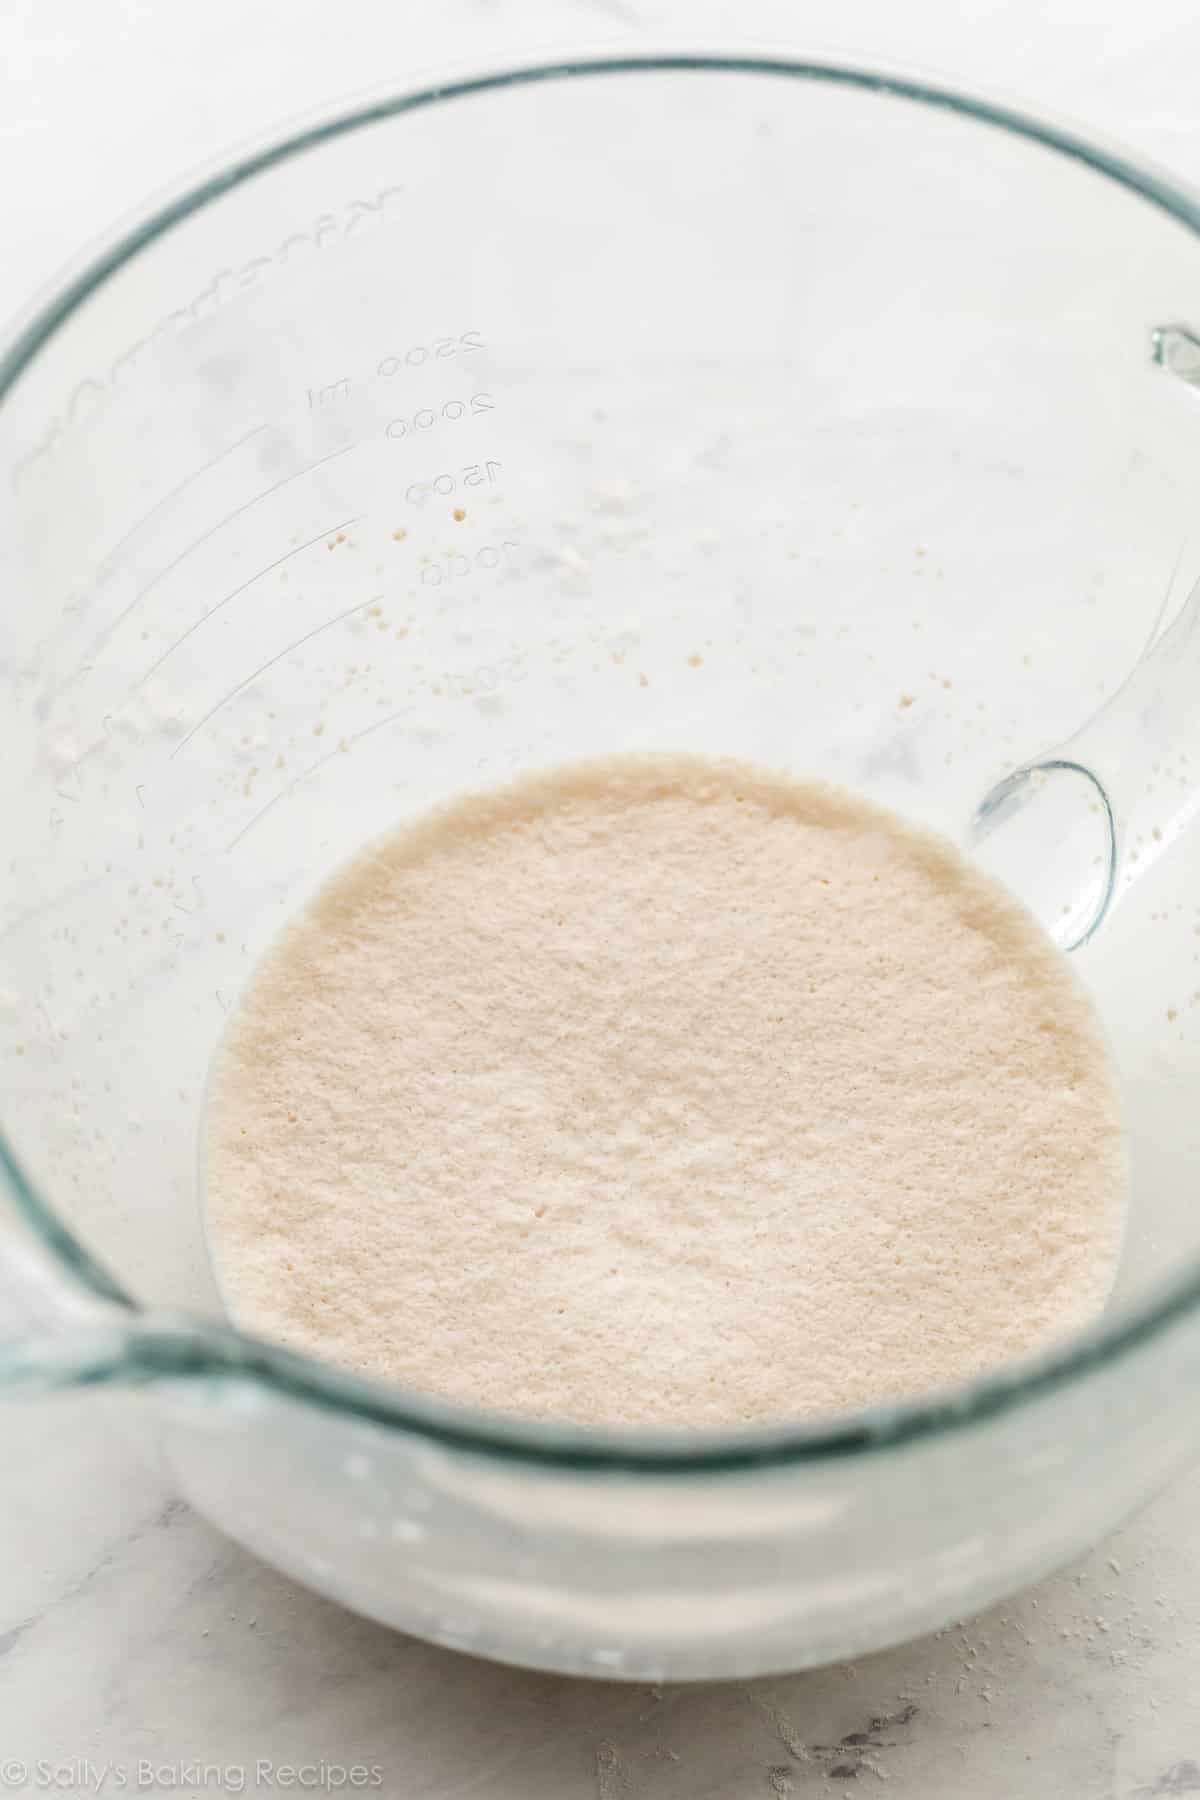
The first step is to proof your yeast, a step I take even when I’m utilizing on the spot yeast. All you do is combine the yeast with the nice and cozy liquid (milk), and a bit of sugar (honey). Cowl and let it sit for five–10 minutes till foamy and frothy on high. This proves your yeast is energetic and able to get to work:
Now you’ll add the remainder of the dough components. The method is very easy, and kneading is a vital step.
Honey Butter Rolls: Kneading the Dough Is Key
Kneading dough is a standard step in bread baking, and this specific dough positively advantages from an extended kneading step (about 8–10 minutes) to assist make sure the honey butter rolls keep gentle. You possibly can knead dough together with your fingers or in a stand mixer. A stand mixer clearly makes the job hands-off, however when you don’t have one, kneading is a good stress reliever. 😉
The dough ought to really feel barely cheesy, however not overly sticky. On a evenly floured work floor, utilizing the heels of your fingers, stretch and fold the dough with mild movement. In case you’d like a visible of the right way to knead the dough by hand, you may see me do it within the video tutorial in my gentle dinner rolls submit.
Kneading the dough serves a pair functions. First, it incorporates air into the dough, which helps preserve the rolls good and gentle. It additionally encourages the proteins within the flour and moisture within the dough to hyperlink collectively, forming a robust gluten community, which is crucial for retaining the fuel produced by the yeast. Gluten is what makes bread deliciously chewy.
You recognize your kneaded dough is able to rise when it stretches with out instantly tearing. After kneading, the dough will likely be gentle and supple, and a windowpane check is at all times useful. You possibly can poke the dough together with your finger, too. If it slowly bounces again, it’s able to rise.
After kneading, tear off a small (roughly golfball-size) piece of dough and gently stretch it out till it’s skinny sufficient for gentle to move by way of it. Maintain it as much as a window or gentle. Does gentle move by way of the stretched dough with out the dough tearing first? In that case, your dough has been kneaded lengthy sufficient and is able to rise. If not, preserve kneading.
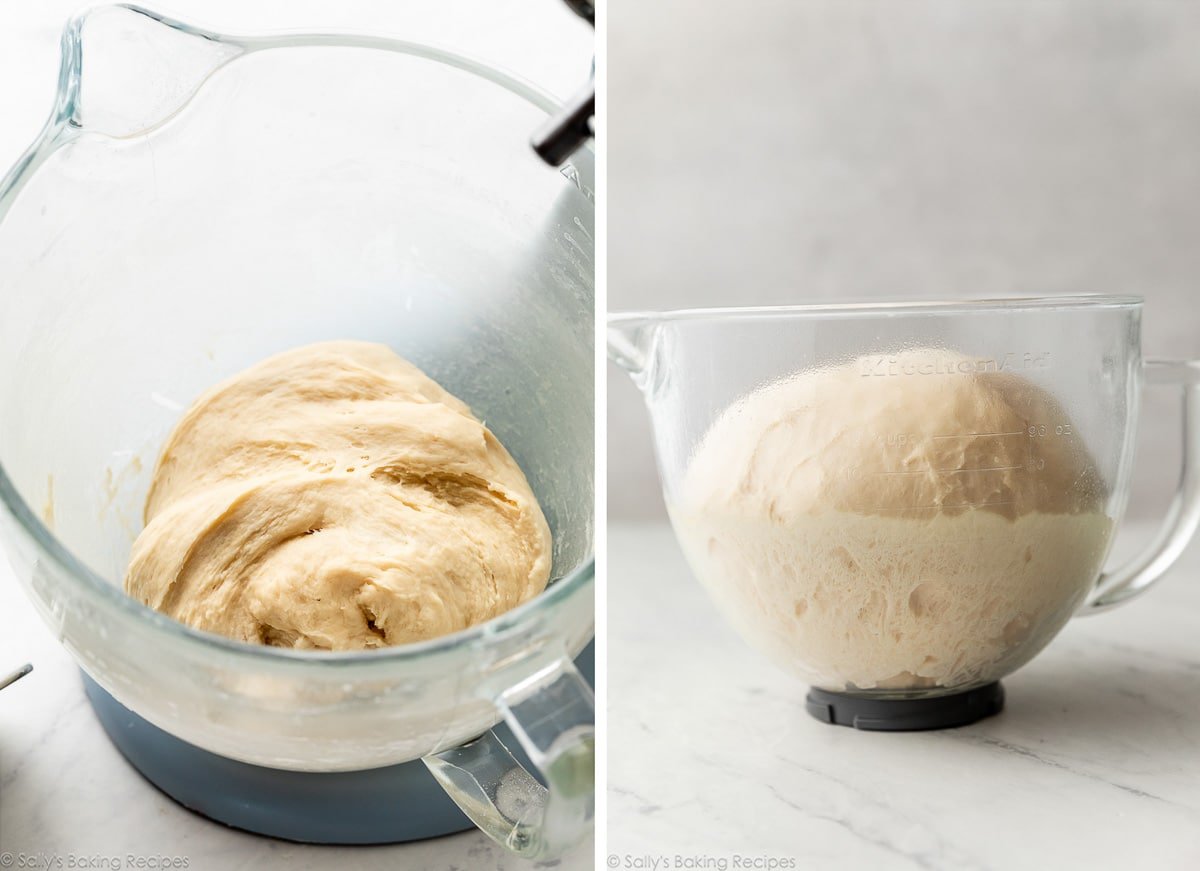
Pictured on the left beneath is the dough after kneading. It’s clean and stretchy, and able to rise. Place the dough in a big greased bowl, flip the dough to coat it within the oil, after which cowl it and set it apart. It’s going to double in dimension in about 1–2 hours, pictured on the appropriate.
Shaping the Rolls
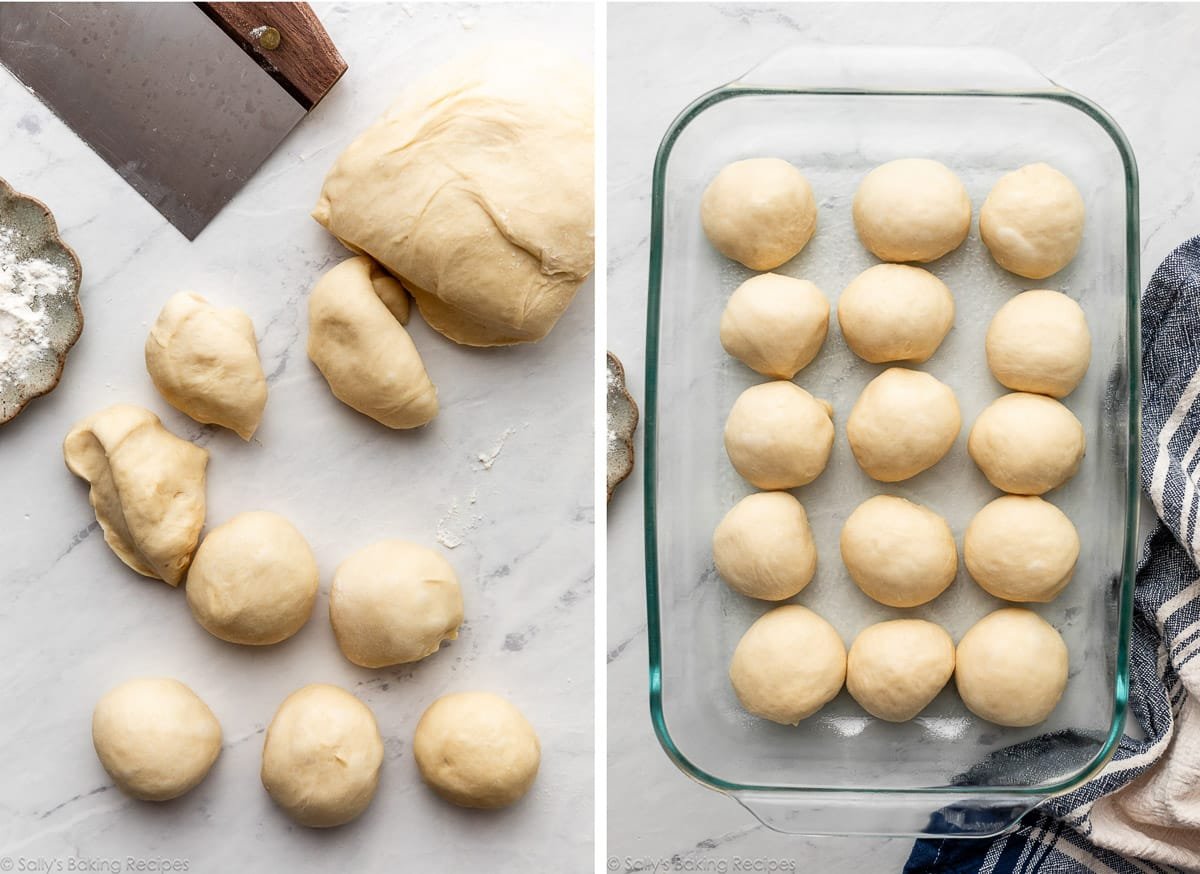
Punch down the risen dough to launch the air, after which divide the dough into 15 items, roughly equal in dimension (about 2 ounces/60g every, however they don’t must be actual!). Take a chunk and stretch the highest of the dough whereas pinching and sealing the underside. Be sure the rolls are clean on high and sealed on the underside. I form sizzling cross buns the identical actual manner.
Prepare them in a greased baking pan, loosely cowl, and let the formed rolls rise for one more hour earlier than baking.
I didn’t snap an image of the rolls after rising, however they puff up fairly a bit. Then, bake till golden brown.
Honey Butter Topping
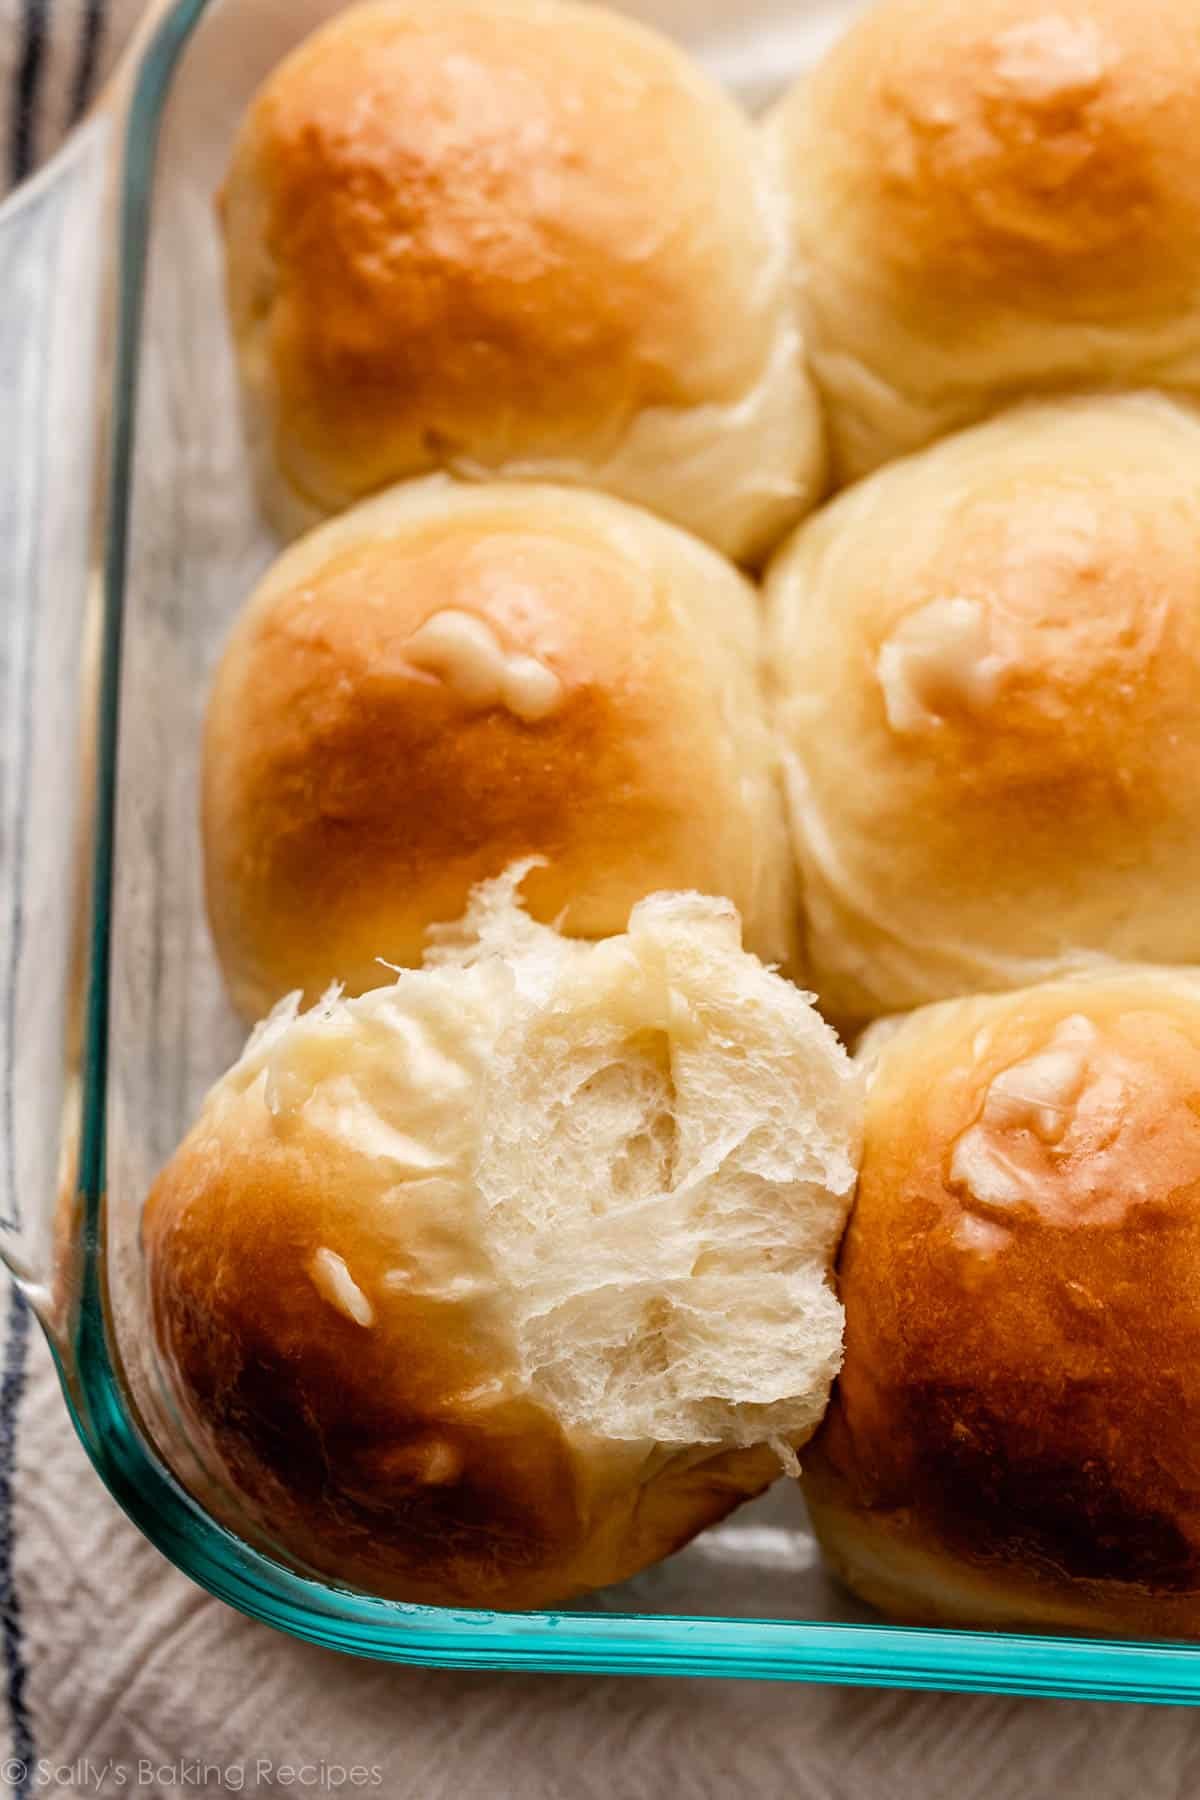
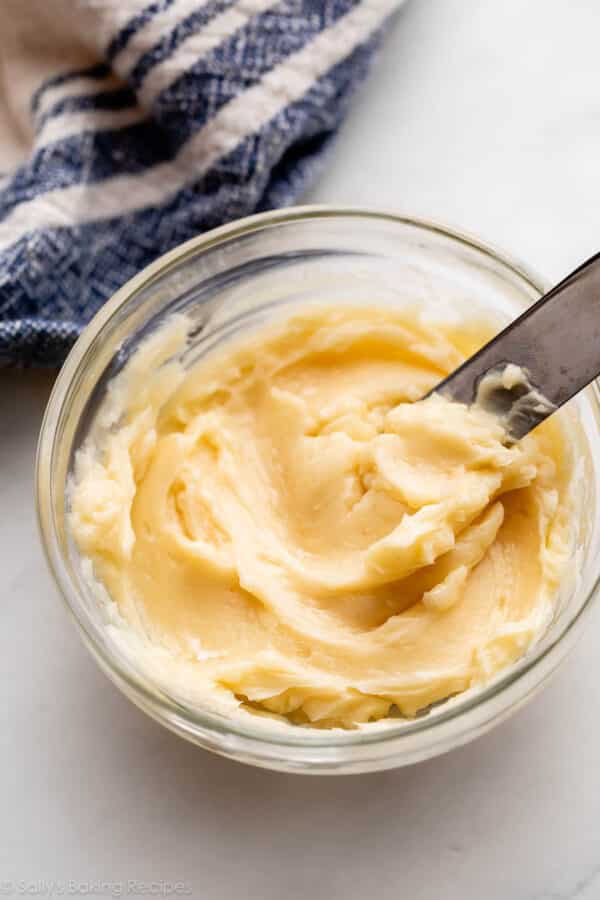
Spreading on a candy and creamy honey butter is the proper final touch to the nice and cozy honey butter rolls. You want 2 components for the honey butter topping. Are you able to guess what they’re? LOL.
Be sure your butter is tremendous gentle, so you may simply combine it with the honey. I simply use a fork to do that, however you may use an electrical mixer when you’d want. As quickly as they’re out of the oven, unfold the honey butter on high of the nice and cozy rolls. (Simply use a knife, or an icing spatula additionally works nice for this.)
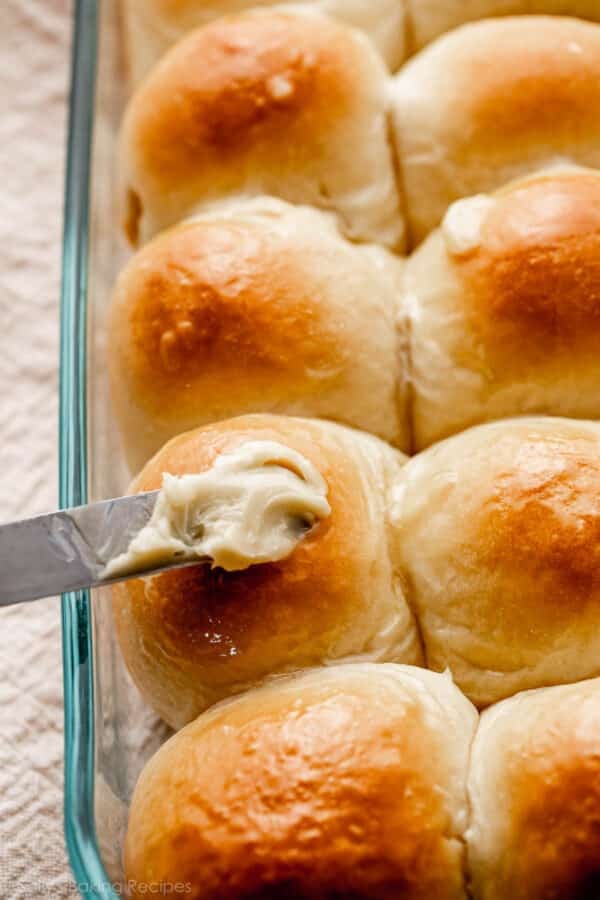
You’ll have further honey butter to serve alongside the rolls.
How Are These Completely different?
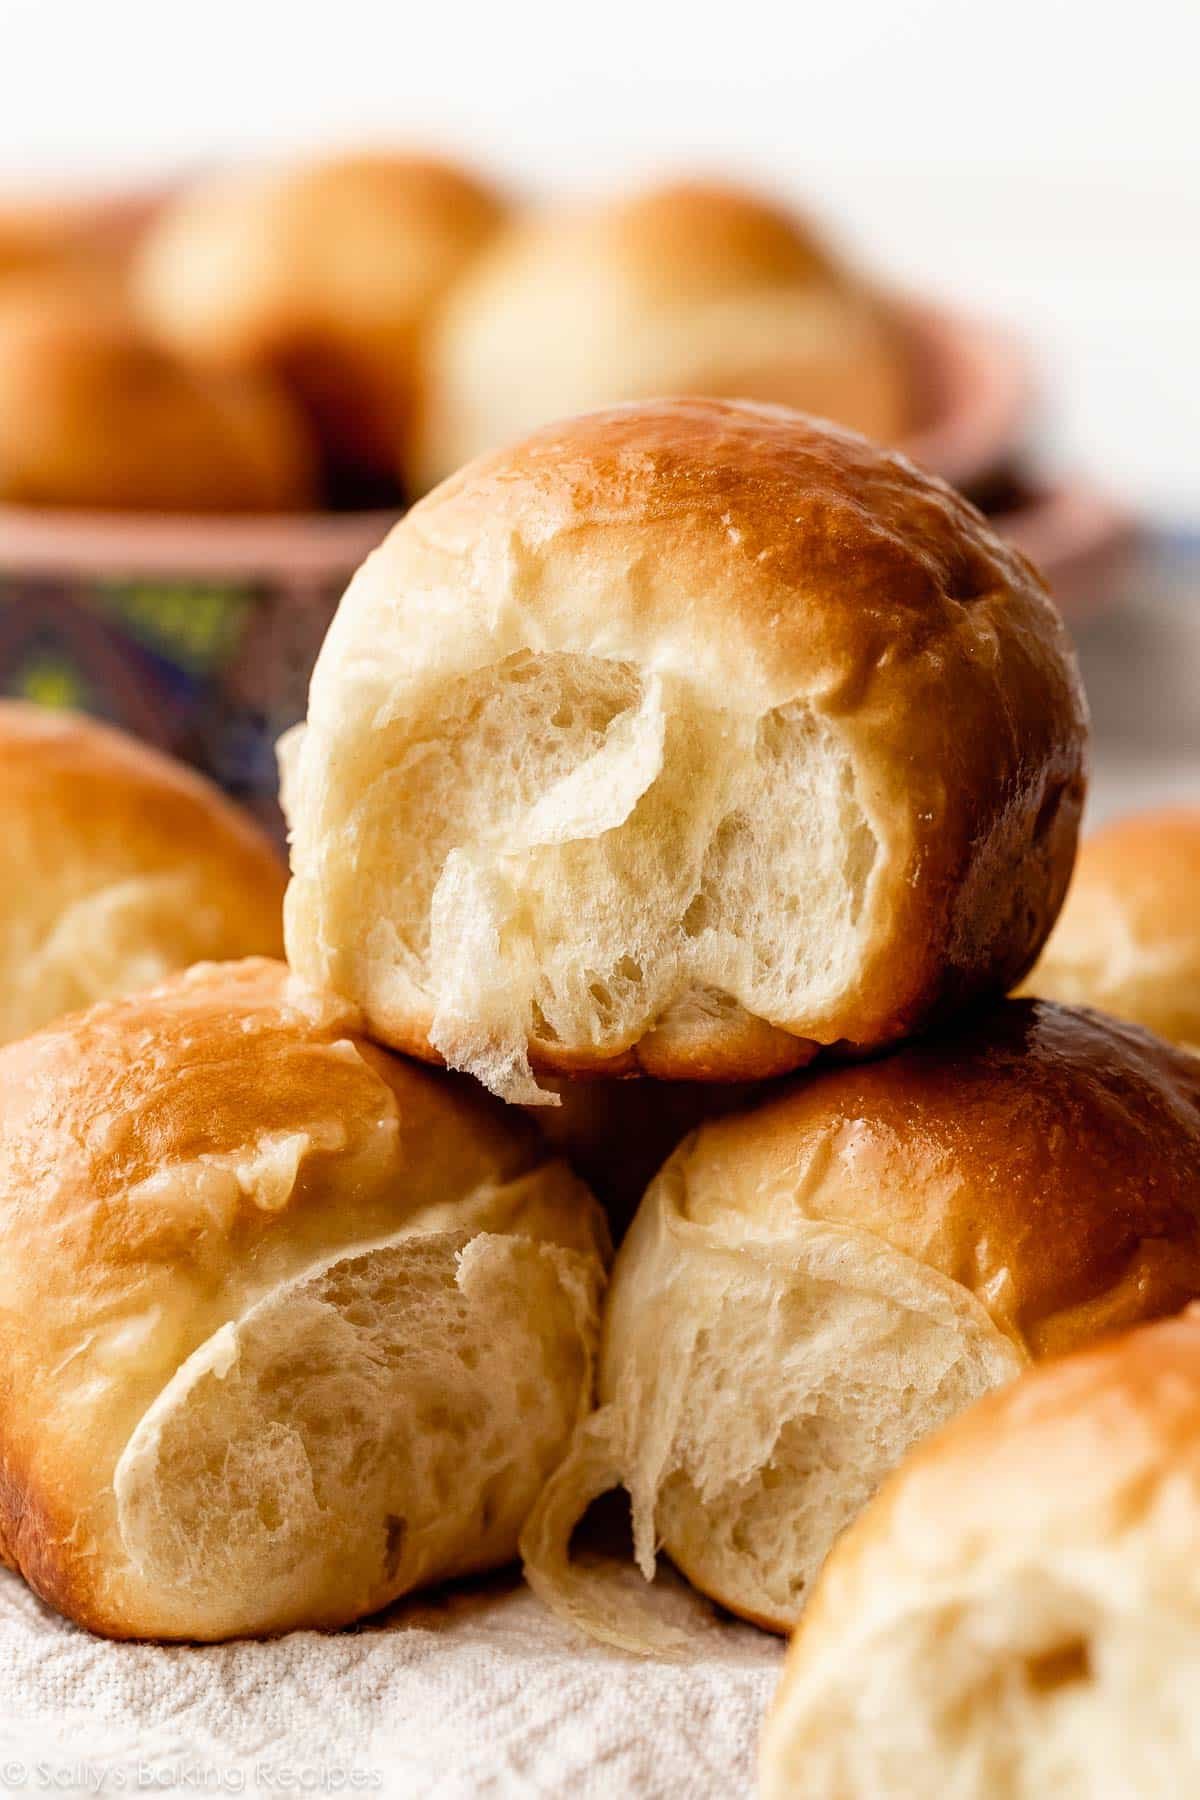
My fashionable gentle dinner rolls are flaky, gentle, and buttery. And so are at present’s honeyed model. However at present’s recipe produces barely sweeter and richer-tasting rolls, form of like these “Hawaiian rolls” you should purchase on the retailer. They’re an actual deal with!
Entire wheat model: Attempt my honey entire wheat dinner rolls.
The make-ahead/in a single day possibility detailed within the Notes beneath is particularly useful in order for you fresh-baked honey butter rolls for a giant vacation meal, comparable to Easter brunch or Thanksgiving dinner. Or, , Tuesday. 😉

Honey Butter Rolls
Prep Time: 3 hours, 25 minutes
Prepare dinner Time: 22 minutes
Whole Time: 3 hours, 45 minutes
Yield: 15 rolls
Class: Bread
Methodology: Baking
Delicacies: American
Description
You want simply 7 components to make these further gentle and flaky honey butter rolls. See recipe Notes for freezing and in a single day directions. You can even reference my Baking with Yeast Information for solutions to widespread yeast FAQs.
Directions
- Put together the dough: Whisk the nice and cozy milk, yeast, and 1 teaspoon honey collectively within the bowl of your stand mixer. Loosely cowl and permit to sit down for five–10 minutes till foamy and frothy on high. *If you don’t personal a stand mixer, you are able to do this in a big mixing bowl and within the subsequent step, combine the dough along with a big picket spoon/rubber spatula. It’s going to take a little bit of arm muscle. A hand mixer works, however the sticky dough repeatedly will get caught within the beaters. Mixing by hand with a picket spoon or rubber spatula is a better option.*
- With the stand mixer operating on low velocity, add the remaining honey, egg, egg yolk, melted butter, salt, and three cups of flour. Beat on low velocity for 1 minute, then add remaining 1/2 cup of flour. Beat on low velocity for 1 minute because it all combines. The dough needs to be thick, but gentle, and simply barely sticky. It ought to draw back from the edges of the bowl because it mixes. When it does, it is able to knead. If, nonetheless, the dough is simply too sticky to deal with, add extra flour, 1 Tablespoon at a time. Ensure you don’t add an excessive amount of further flour; you need a gentle, barely sticky dough.
- Knead the dough: Hold the dough within the mixer and beat with the dough hook on low velocity for a further 8–10 minutes, or knead by hand on a evenly floured floor for 8–10 minutes. After kneading, the dough ought to nonetheless really feel a bit of gentle. Poke it together with your finger—if it slowly bounces again, your dough is able to rise. You can even do a “windowpane check” to see in case your dough has been kneaded lengthy sufficient: tear off a small (roughly golfball-size) piece of dough and gently stretch it out till it’s skinny sufficient for gentle to move by way of it. Maintain it as much as a window or gentle. Does gentle move by way of the stretched dough with out the dough tearing first? In that case, your dough has been kneaded lengthy sufficient and is able to rise. If not, preserve kneading.
- 1st rise: Frivolously grease a big bowl with oil or nonstick spray. Place the dough within the bowl, turning it to coat all sides within the oil. Cowl the bowl with aluminum foil, plastic wrap, or a clear kitchen towel. Permit the dough to rise in a comparatively heat setting for 1–2 hours or till double in dimension. (For a tiny discount in rise time, see my reply to The place Ought to Dough Rise? in my Baking With Yeast Information.)
- Grease a 9×13-inch baking pan or two 9-inch sq. or spherical baking pans. You can even bake the rolls in a forged iron skillet or on a lined baking sheet.*
- Form the rolls: When the dough is prepared, punch it right down to launch the air. Divide the dough into 15 items, roughly 2 ounces or 60g every. (Simply eyeball it—doesn’t must be excellent!) A bench scraper is at all times useful for slicing dough. Form each bit right into a clean ball. Prepare in ready baking pan.
- 2nd rise: Loosely cowl with plastic wrap and permit to rise till doubled in dimension and puffy, about 1 hour.
- Preheat oven to 350°F (177°C). Bake the rolls for 20–25 minutes or till golden brown on high, rotating the pan midway by way of. In case you discover the tops browning too rapidly, loosely tent the pan with aluminum foil.
- Make the honey butter topping: Whereas the rolls bake, combine the topping components collectively to make a creamy honey butter. Take away the rolls from the oven when they’re performed and unfold a beneficiant quantity of honey butter onto every heat roll. Serve with any remaining honey butter.
- Cowl leftovers and preserve within the fridge for as much as 1 week or freeze for as much as 3 months, then thaw in a single day within the fridge. Heat up in a 300°F (149°C) oven for 10 minutes.
Notes
- Freezing Dough Directions: Put together recipe by way of step 6. Place formed rolls in a greased baking pan, cowl tightly, and freeze for as much as 3 months. As soon as frozen, the dough balls gained’t stick collectively anymore and you may place them in a freezer bag if wanted. On the day you serve them, organize the dough balls in a greased baking pan, cowl tightly, then allow them to thaw and rise for about 4–5 hours. Bake as directed. You can even freeze the baked dinner rolls. Permit them to chill fully, then freeze for as much as 3 months. Thaw within the fridge or at room temperature, then reheat as desired. If reheating the entire pan, evenly cowl and reheat in a 300°F (149°C) oven for about 10 minutes or till heat.
- In a single day Dough Directions: Put together the recipe by way of step 6. Cowl the formed rolls tightly and refrigerate for as much as about 15 hours. Not less than 3 hours earlier than you want them the following day, take away the rolls from the fridge, preserve coated, and permit to rise on the counter for about 1–2 hours earlier than baking. Alternatively, you may let the dough have its 1st rise within the fridge in a single day. Cowl the dough tightly and place within the fridge for as much as about 15 hours. Take away from the fridge and permit the dough to totally rise for two extra hours. Proceed with step 5.
- Particular Instruments (affiliate hyperlinks): Stand Mixer | 9×13-inch Glass Baking Pan | Bench Scraper
- Baking Pan: I want baking the rolls in a glass 9×13-inch baking pan as a result of I discover they brown a bit of too rapidly in a steel pan. However so long as you bake the rolls on a decrease oven rack and preserve your eye on them, any pan is nice. You can even bake these rolls in a big forged iron skillet, or two 9-inch spherical or sq. baking pans. Bake time stays the identical.
- Milk: Entire milk and even buttermilk are perfect for the very best, richest taste and texture. Protecting that in thoughts, be happy to substitute with a lower-fat or nondairy milk.
- Yeast: Platinum Yeast from Crimson Star is an on the spot yeast. You need to use Crimson Star Yeast energetic dry yeast as a substitute. Rise instances will likely be barely longer utilizing energetic dry yeast. Reference my Baking with Yeast Information for solutions to widespread yeast FAQs.
- Flour: For further chewy rolls, I like to make use of bread flour. You need to use all-purpose flour or bread flour. All-purpose flour is handy for many, however bread flour produces a chewier texture. The rolls are nonetheless gentle and fluffy irrespective of which you utilize. Both flour is okay and there are not any different adjustments to the recipe when you use one or the opposite.
- Can I Use Entire Wheat Flour? I don’t advocate it for this recipe, however you may exchange as much as 1 cup (about 120–130g) of flour with entire wheat flour. Count on a denser roll. Or attempt my honey entire wheat dinner rolls recipe as a substitute.
Key phrases: honey butter rolls